
How to upload media to a video project
Learn how to upload footage, audio, and images to elevate.io.
To edit a video, you'll need to get your media into a new project. Here's how you upload footage, audio, and images to elevate.io.
Uploading directly into a project
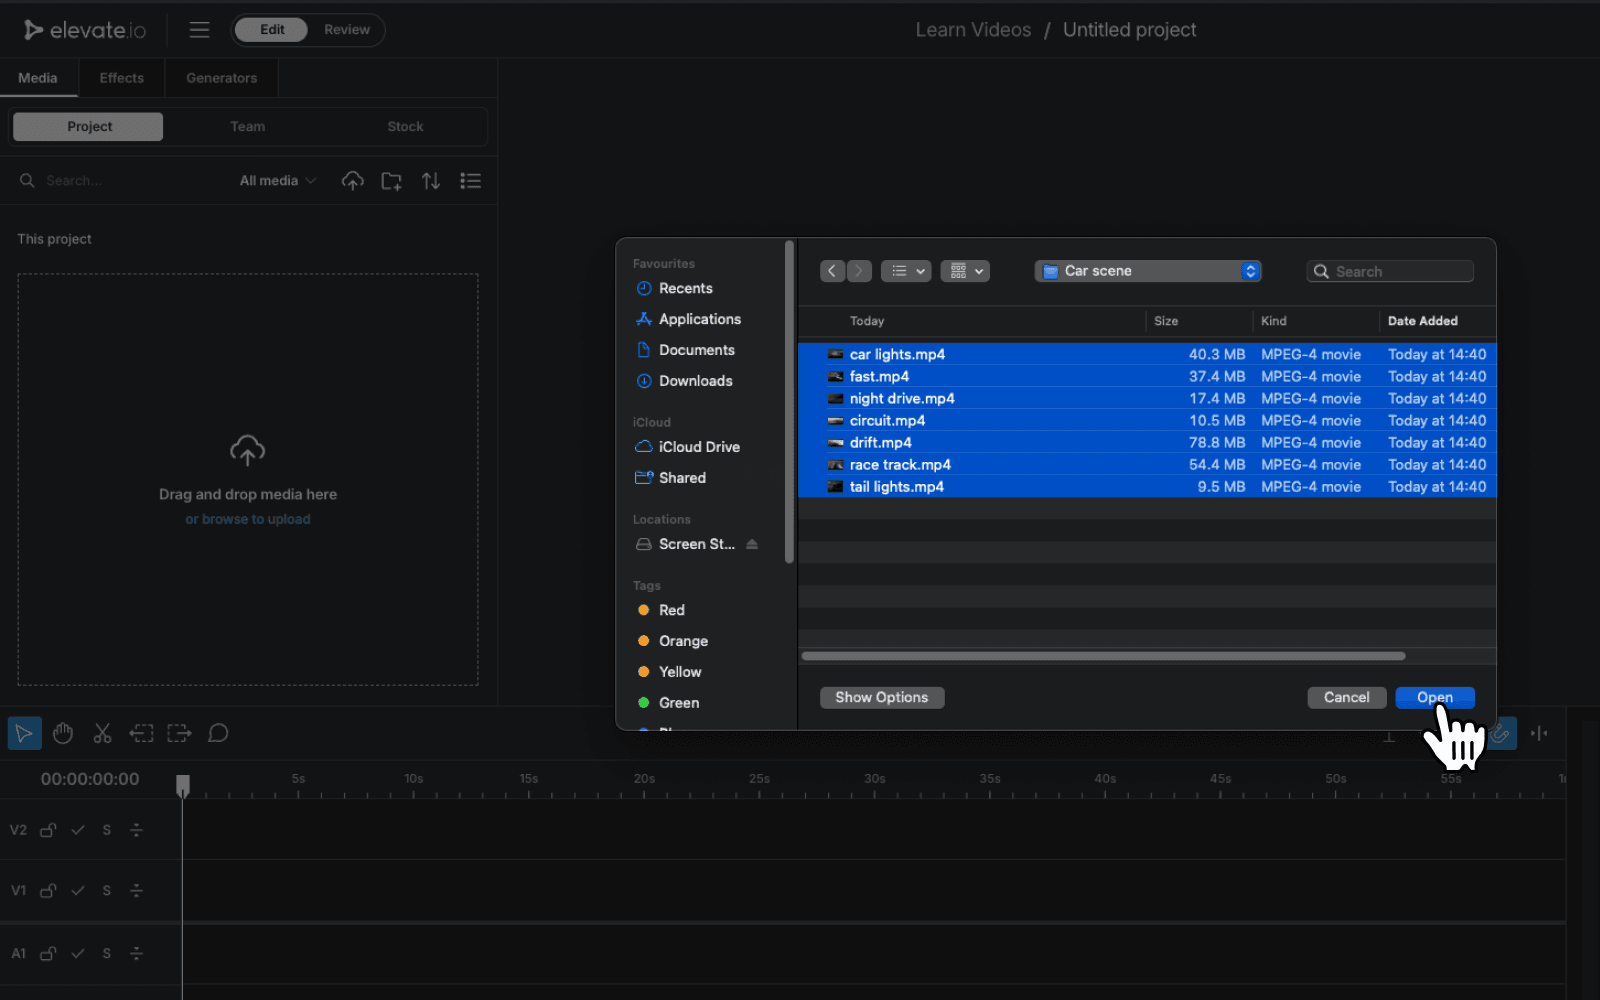
You can upload media directly into a video project by heading to the Media tab on the left and clicking the upload icon. You can also drag and drop files directly from your device's file explorer into the media area. Once uploaded, drag media onto the timeline to start editing.
There are two sections within the Media tab in the editor.
Project
All the media that is associated with the current project is located here.
Team
Switch to the Team tab to access all the media owned by the current team. If you drag media from this tab onto the timeline, it will automatically be added to the project.
Uploading to the Team's workspace
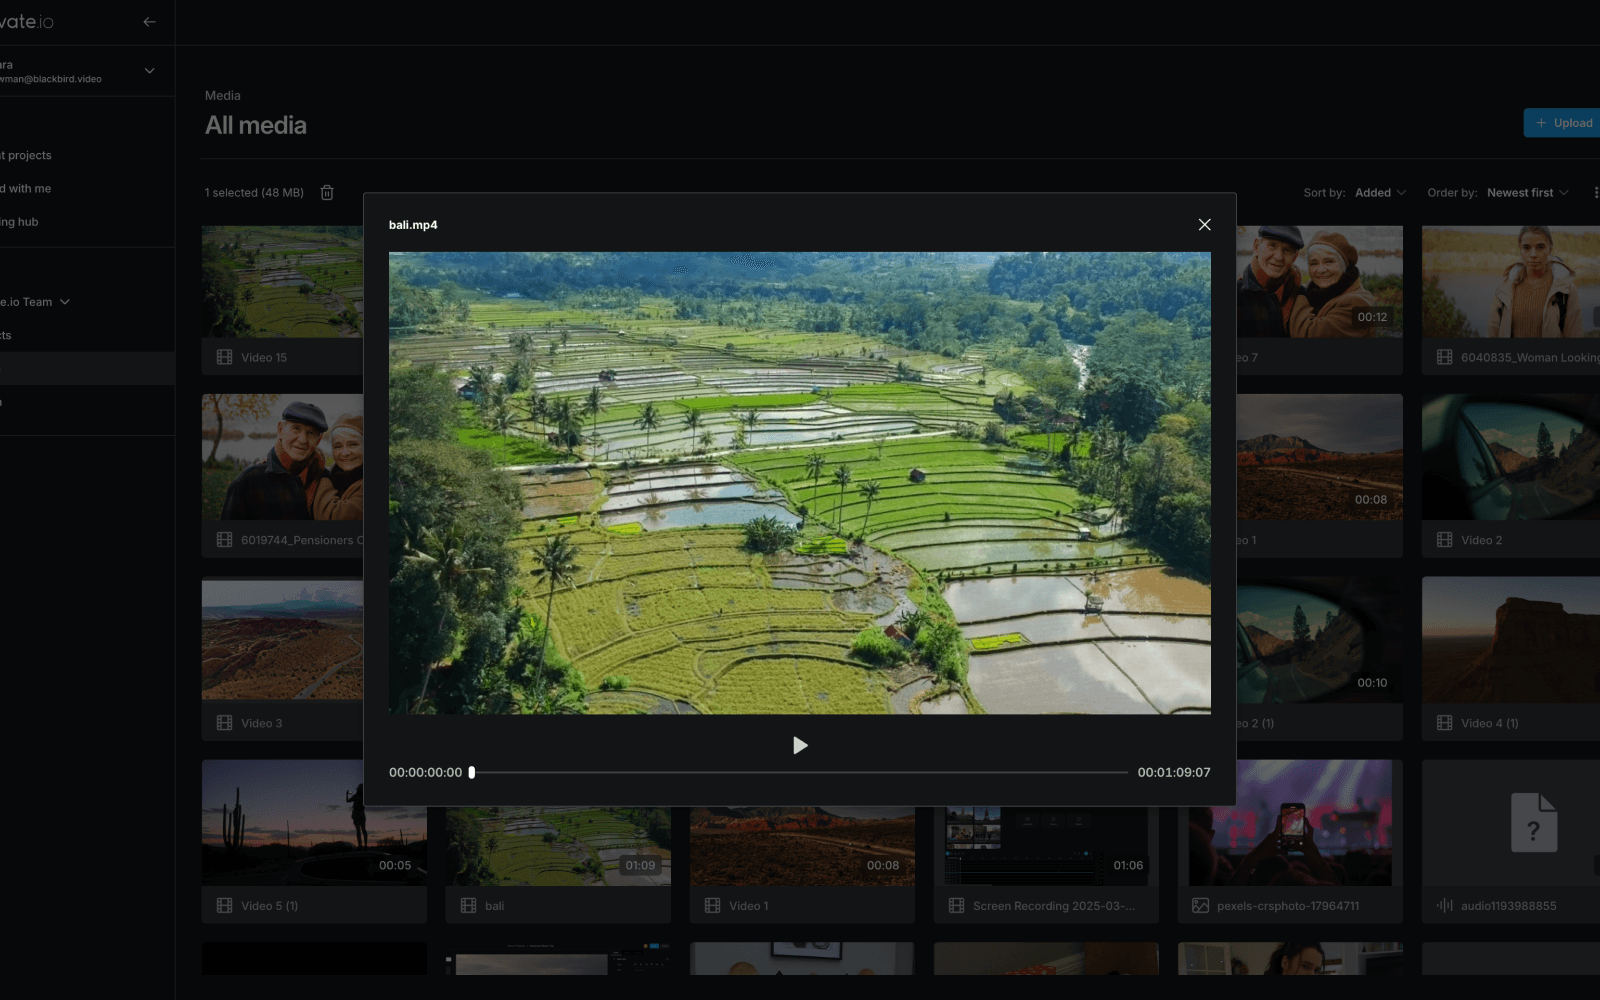
In the Team section on the left of the editor's Home area, open the dropdown menu to select the team you want to upload to, then click on Media. Here you can access and manage all the footage, audio, and images that have been uploaded to the team. To add media, click the + Upload button in the top right corner of the screen.
In the Media area you can also:
Delete, rename, or download assets by right-clicking on any file
Double-click a file to open a media preview
Sort by duration, name, file size, or frame rate
Sort by newest or oldest
Toggle between list view or grid view
Updated on