Keep your shared files organized with Team folders
With Team folders in elevate.io, all your shared files are organized and easy to find directly inside the video editor.
Keeping your shared files in order saves time and makes your whole team’s editing process run smoother. So, instead of wasting time hunting for assets, your team can just get straight to editing - with everything already in the editor, exactly where it’s needed.
Here’s how to set up folders in your Team media library in a few simple steps:
Go to the Team media library
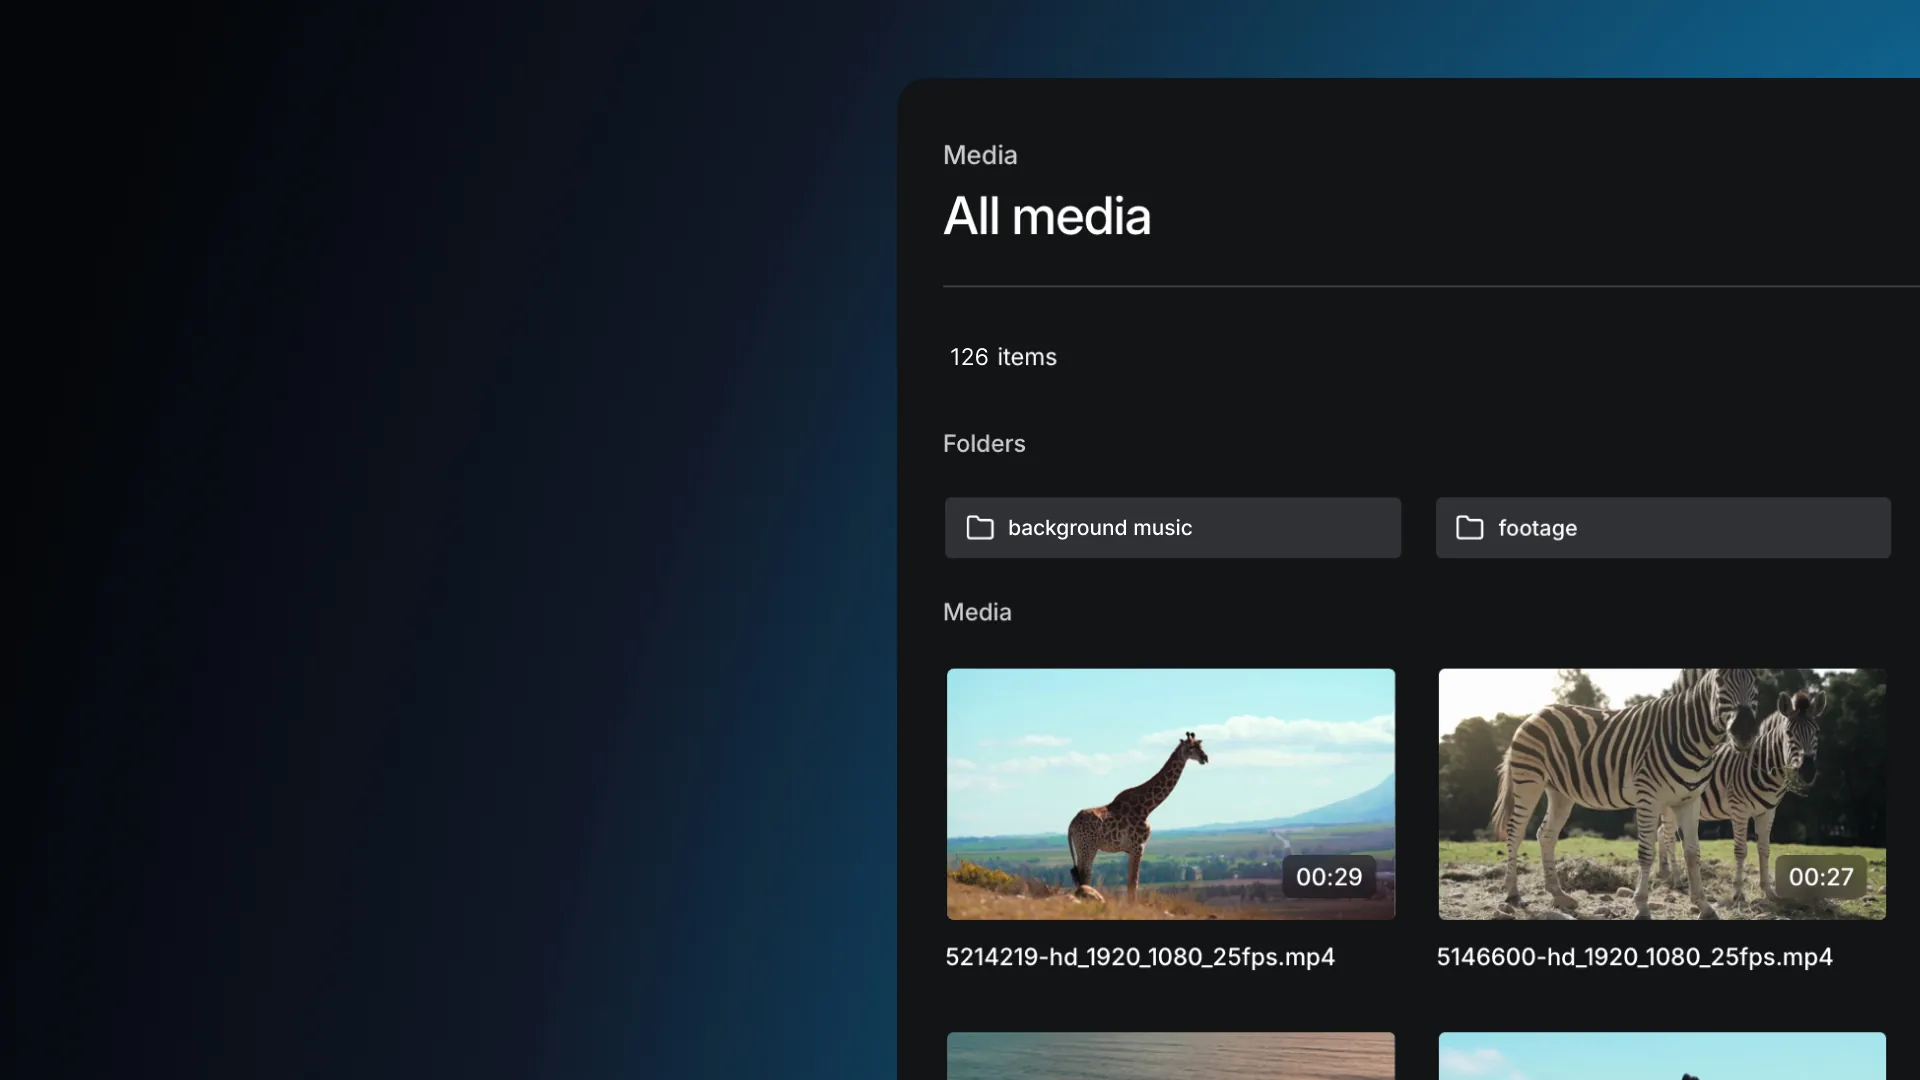
Once you log in, head to the Media tab in your Team workspace (you’ll find it on the left-hand side of the homepage). This is where all your team’s shared assets live.

Create a folder
Click the “Create folder” button in the top right, give your folder a name, and hit “Create”.

Your new folder will appear right at the top of your Team’s media library - so it’s easily accessible for everyone on your team.

Organize your files
To add files to a folder, simple click, hold and drag them in. You can also lasso-select multiple files by clicking and dragging, then dropping them all in together.

Access folders in any project
Here’s the best part. Your team folders are available directly inside any video project
To access them:
Open a project
Go to the Media panel on the left side of the editor
Toggle from the "Project" tab to the "Team" tab
And just like that - all your neatly organized media is ready to drop straight onto the timeline.

So whether you’re sharing footage, brand assets, or b-roll, Team folders keep everyone aligned and everything easy to access.
Updated on